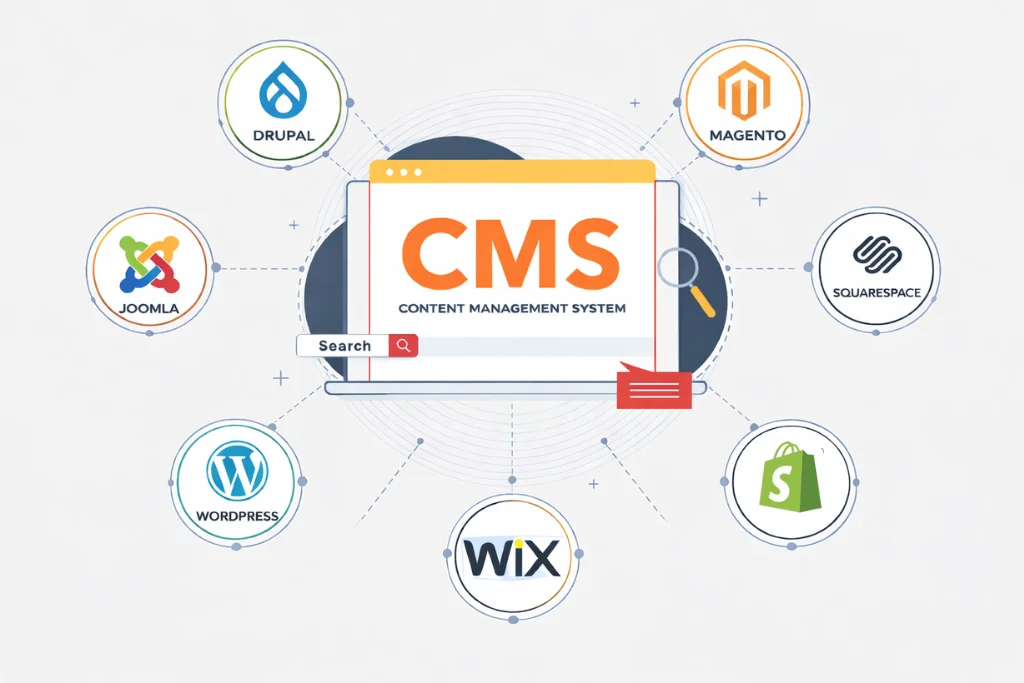

Starting a WordPress blog website is an exciting way to share your ideas, grow your online presence, and connect with your audience. Whether you want to create a personal blog, promote your business, or share your knowledge, WordPress makes it simple to get started. You don’t need coding skills to build a professional blog website. With the right steps, you can create a beautiful and functional website that helps you achieve your goals. In this step-by-step guide, we will show you how to start a WordPress blog website from scratch. From choosing a domain name and hosting to designing your website and publishing your first post, you will learn everything you need to launch your blog successfully.
Choose a Reliable Hosting Service for Your WordPress Blog Website
Web hosting is an important part of creating a WordPress blog website because it stores your website files and makes your blog available online. A reliable hosting service helps your website load faster, stay secure, and provide a better experience for visitors.
When choosing a hosting provider, look for features like good performance, strong security, regular backups, and reliable customer support. The right hosting service ensures that your blog runs smoothly and can grow as you publish more content and attract more visitors.
Why We Recommend Hostinger
At Evolz, we recommend Hostinger for beginners because it offers affordable pricing, one-click WordPress installation, free SSL certificates, reliable performance, and an easy-to-use control panel. These features make it a great option for launching a new WordPress blog website.
Key Benefits of Choosing Hostinger
| Feature | Description |
|---|---|
| Affordable Pricing | Budget-friendly plans for beginners. |
| Easy WordPress Setup | Quick and simple WordPress installation. |
| Fast Performance | Optimized servers for better speed. |
| Free SSL Certificate | Keeps your website secure and trusted. |
| Customer Support | Help available whenever you need it. |
| Scalable Hosting | Upgrade plans as your blog grows. |
Step 1: Choose a Domain Name
Your domain name is the first step in creating your WordPress blog website. It is your website’s online address that visitors use to find your blog. A good domain name helps build your brand identity and makes your website easier to remember.
Search for Your Domain Name on Hostinger
Go to Hostinger’s domain name search bar and enter the name you want for your website. Hostinger will check if your preferred domain name is available. If it is already taken, try different variations or choose another domain extension.

Choose the Right Domain Name
When selecting a domain name, keep these points in mind:
- Keep it short and easy to remember.
- Choose a name related to your blog topic.
- Avoid numbers and special characters.
- Select a professional domain extension like .com.
- Make sure it is easy to spell and pronounce.
Register Your Domain Name
After finding the perfect domain name, select it and complete the registration process. Enter your required details and confirm your domain purchase. Once registered, your domain will be ready to use with your WordPress blog.icult words, numbers, or symbols in it.
Step 2: Purchase a Hostinger Hosting Plan
After choosing your domain name, the next step is to get a hosting plan for your WordPress blog website. Web hosting stores your website files and makes your blog available online. A reliable hosting service helps improve your website speed, security, and overall performance.
Choose a WordPress hosting plan.
Visit Hostinger’s website and select a WordPress hosting package that fits your needs. For beginners, Hostinger’s WordPress hosting plans are a good choice because they include features like a free SSL certificate, automatic backups, and easy WordPress installation.
Create Your Hostinger Account
After selecting a hosting plan, create your Hostinger account by entering your email address and required details. This account will help you manage your hosting, domain, and website settings.
Complete the Payment Process
Review your selected plan, enter your payment information, and complete the checkout process. Once your payment is confirmed, you will get access to the Hostinger control panel.
Access Your Hostinger Dashboard
After logging in, you can manage your website settings, connect your domain, install WordPress, and start building your blog from the Hostinger dashboard.

Step 3: Install WordPress on Your Hosting
After purchasing your hosting plan, the next step is to install WordPress. WordPress is the platform that allows you to create, manage, and publish content on your blog. Hostinger makes this process simple with its one-click WordPress installation feature.
Open Hostinger Website Setup
Log in to your Hostinger account and open the hPanel dashboard. From there, go to the website setup section and choose the option to create a new website.
Install WordPress Using Auto Installer
Select WordPress as your website platform and start the installation process. Hostinger will automatically install WordPress on your hosting account without requiring any coding knowledge.
Set Up Your WordPress Details
During the installation, you need to add basic information such as the following:
- Website title
- WordPress username
- Password
- Email address
Make sure to create a strong password to keep your website secure.
Access Your WordPress Dashboard
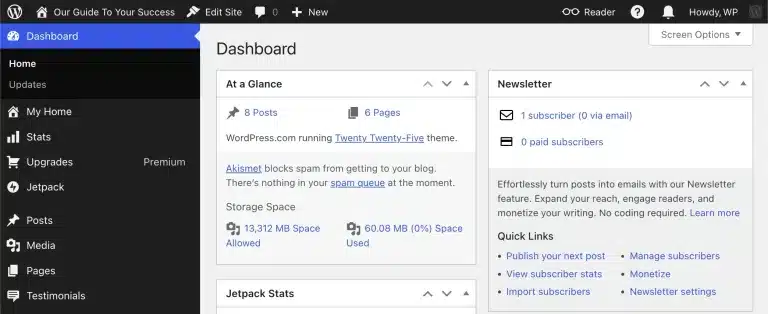
Once the installation is complete, you can log in to your WordPress admin dashboard. From here, you can customize your website design, install plugins, create pages, and publish your first blog post.
Step 4: Choose a WordPress Theme
After installing WordPress, the next step is to choose a theme for your blog. A theme defines the design, layout, and overall look of your website. Selecting the right theme helps you create a professional blog that is easy to use and provides a better experience for your visitors.
WordPress offers many free and premium themes designed for different types of websites. Choose a theme that matches your blog niche, loads quickly, works well on mobile devices, and allows easy customization.
Find the Right WordPress Theme
When choosing a theme, consider these factors:
- Simple and clean design: Choose a layout that makes your content easy to read.
- Mobile-friendly: Make sure your blog looks good on all devices.
- Fast loading speed: A lightweight theme improves website performance.
- Customization options: Select a theme that allows you to change colors, fonts, and layouts easily.
Install and Activate Your Theme
To add a theme, go to your WordPress dashboard and open:
Appearance → Themes → Add New
Search for your preferred theme, click Install, and then activate it to apply the design to your blog.

Step 5: Install Essential Plugins
Plugins add extra functionality to your website without requiring coding.
Some essential WordPress plugins include:
- SEO plugin for search engine optimization
- Security plugin to protect your website
- Cache plugin to improve loading speed
- Backup plugin for regular website backups
- Contact form plugin for customer inquiries
Only install plugins that you truly need, as too many plugins may affect website performance.
Step 6: Create Important Website Pages
Before publishing blog posts, create the essential pages your visitors expect to see.
These usually include:
- Home
- About Us
- Contact
- Privacy Policy
- Blog
If you’re running a business website, you can also add pages for your services, portfolio, testimonials, and FAQs. A well-structured website helps visitors navigate easily and improves user experience.
Step 7: Publish Your First Blog Post
Now it’s time to create your first article.
In your WordPress dashboard, navigate to Posts → Add New.
Write an engaging title, add your content, include relevant images, and organize your article with headings.
Before publishing, make sure you:
- Proofread your content.
- Add internal and external links.
- Optimize your SEO title and meta description.
- Compress your images for faster loading.
- Preview your article on desktop and mobile devices.
Once you’re satisfied, click Publish.
Common Mistakes to Avoid
Many beginners make avoidable mistakes when starting a blog.
Try to avoid:
- Choosing a complicated domain name
- Ignoring website security
- Installing unnecessary plugins
- Publishing low-quality content
- Forgetting to optimize for SEO
- Not backing up your website regularly
By avoiding these mistakes, you’ll create a faster, more secure, and professional website.
Frequently Asked Questions
1. Is WordPress free to use for creating a blog?
Yes, WordPress is free to install and use. However, you need a domain name and hosting service to make your blog available online.
2. Do I need coding skills to start a WordPress blog?
No, you don’t need coding knowledge. WordPress provides beginner-friendly tools that allow you to create and manage a blog easily.
3. How much does it cost to start a WordPress blog?
The cost depends on your domain name, hosting plan, and any premium themes or plugins you choose. You can start with an affordable hosting plan like Hostinger.
4. Can I customize my WordPress blog design?
Yes, WordPress allows you to customize your website using themes, page builders, plugins, colors, fonts, and layouts.
5. How can I get visitors to my WordPress blog?
You can attract visitors by creating valuable content, optimizing your blog for SEO, promoting posts on social media, and building backlinks.
Conclusion
Starting a WordPress blog website is easier than many beginners expect. By choosing the right domain, reliable hosting like Hostinger, a professional theme, and creating valuable content, you can build a blog that attracts visitors and grows over time. Need help creating your WordPress website? Book an intro call today and let Evolz help you create a professional, fast, and SEO-friendly online presence with confidence.